
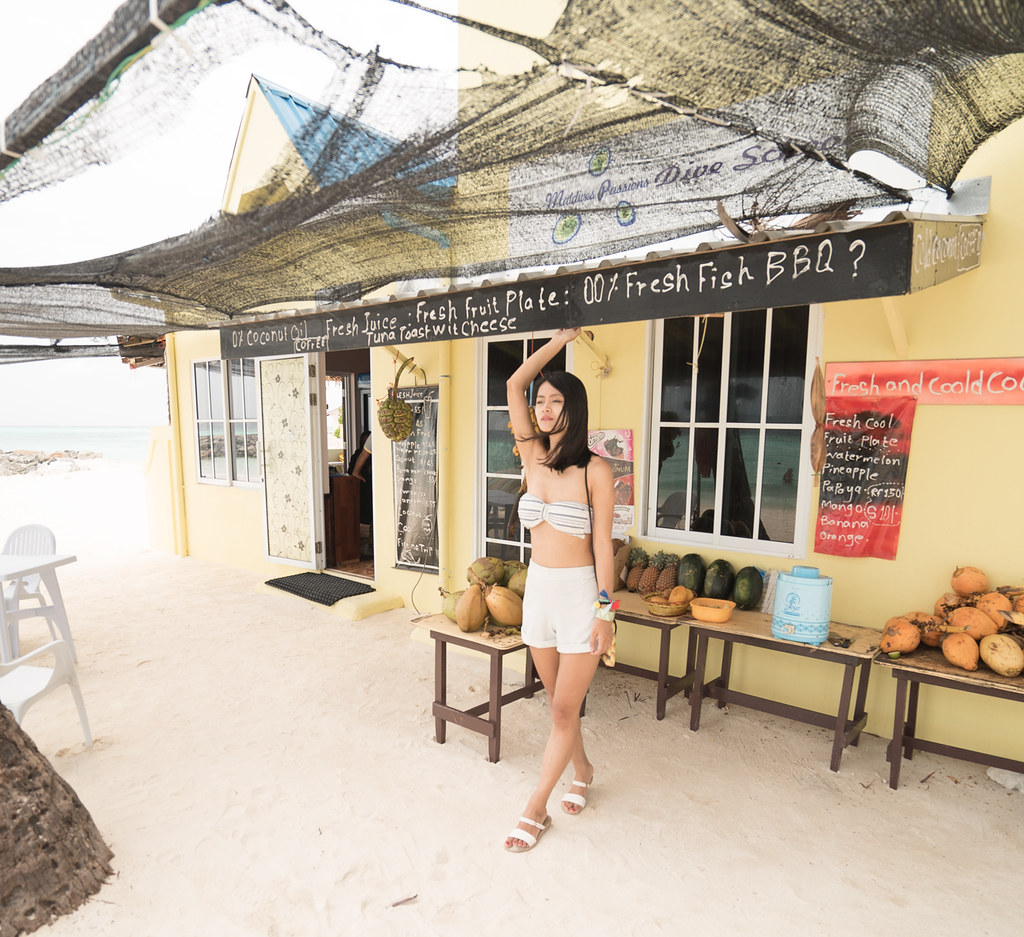
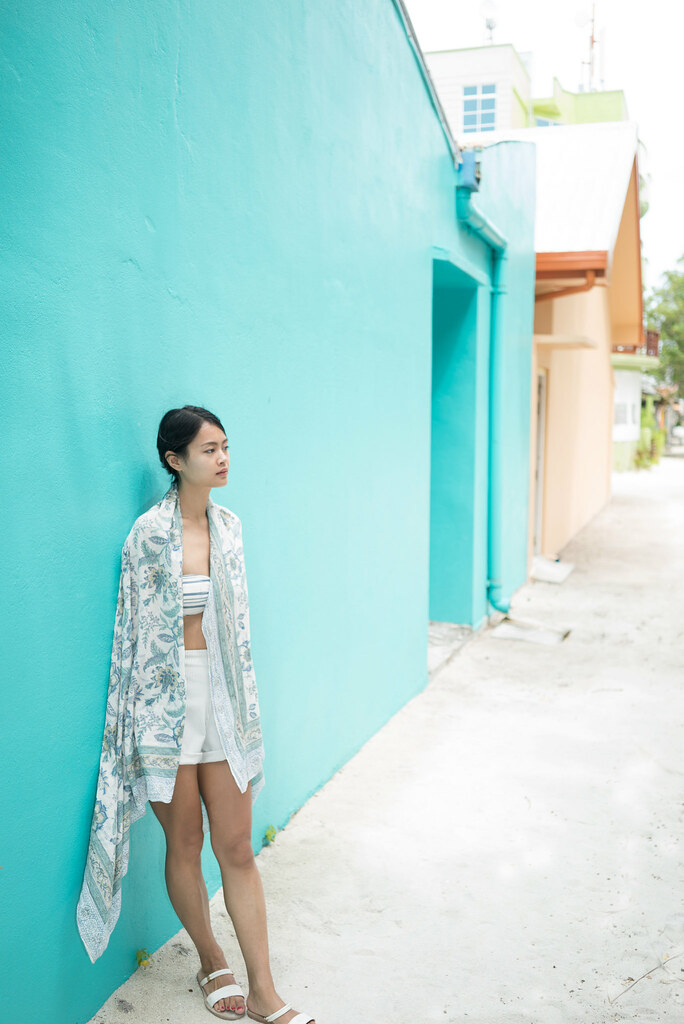
Hello lovelies! It’s great to be back in Taiwan, although I would really prefer the cool Maldivian weather than the blazing hot sizzle here.In this post I’d like to share a Diy Striped Bandeau that I made just before I went on my honeymoon. I had spent an incredible amount of time searching for a perfect bandeau top just for the trip with no luck. So I decided to make my own from an old dress that hadn’t seen the light for ages!The striped bandeau top is perfect for the beach and pairs so well with high waisted shorts or even a sarong. The outfit was just perfect for me as I didn’t want to get into the water very much.
Keep on reading to find out how easy it is to make.
What you will need:
– plain stretch bandeau
– scissors
– sewing kit
– fabric and a strip of fabric to make a bow.
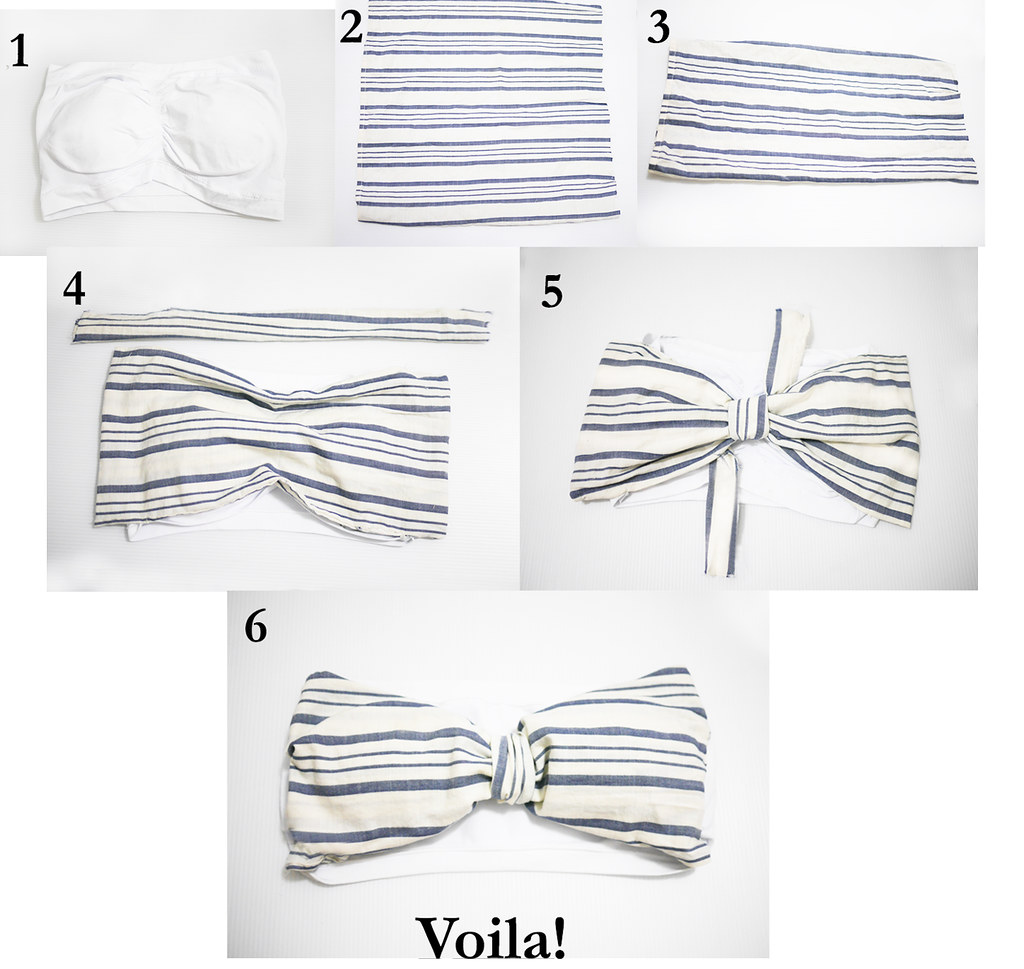
1. Prepare your materials. Measure the width and length of the bandeau.
2. Cut and measure the chosen fabric that measures double the width and length of the bandeau.
The bandeau should sit nicely on the bandeau.
3. Fold the fabric and sew both sides.
4. Place the fabric on the bandeau and sew onto it from both sides.
5. Take the leftover swatch of the fabric and tie a knot on the centre of the bandeau.
Make sure to hide the ends by tucking it under the bandeau.
Your bandeau is ready!


I hope you all have enjoyed my post. It would be lovely to see your own versions. Thank you for reading and have a great week ahead!
Outlanderly x
Get Up to 70% Off Sale Now at SurfStitch! Limited time only.